

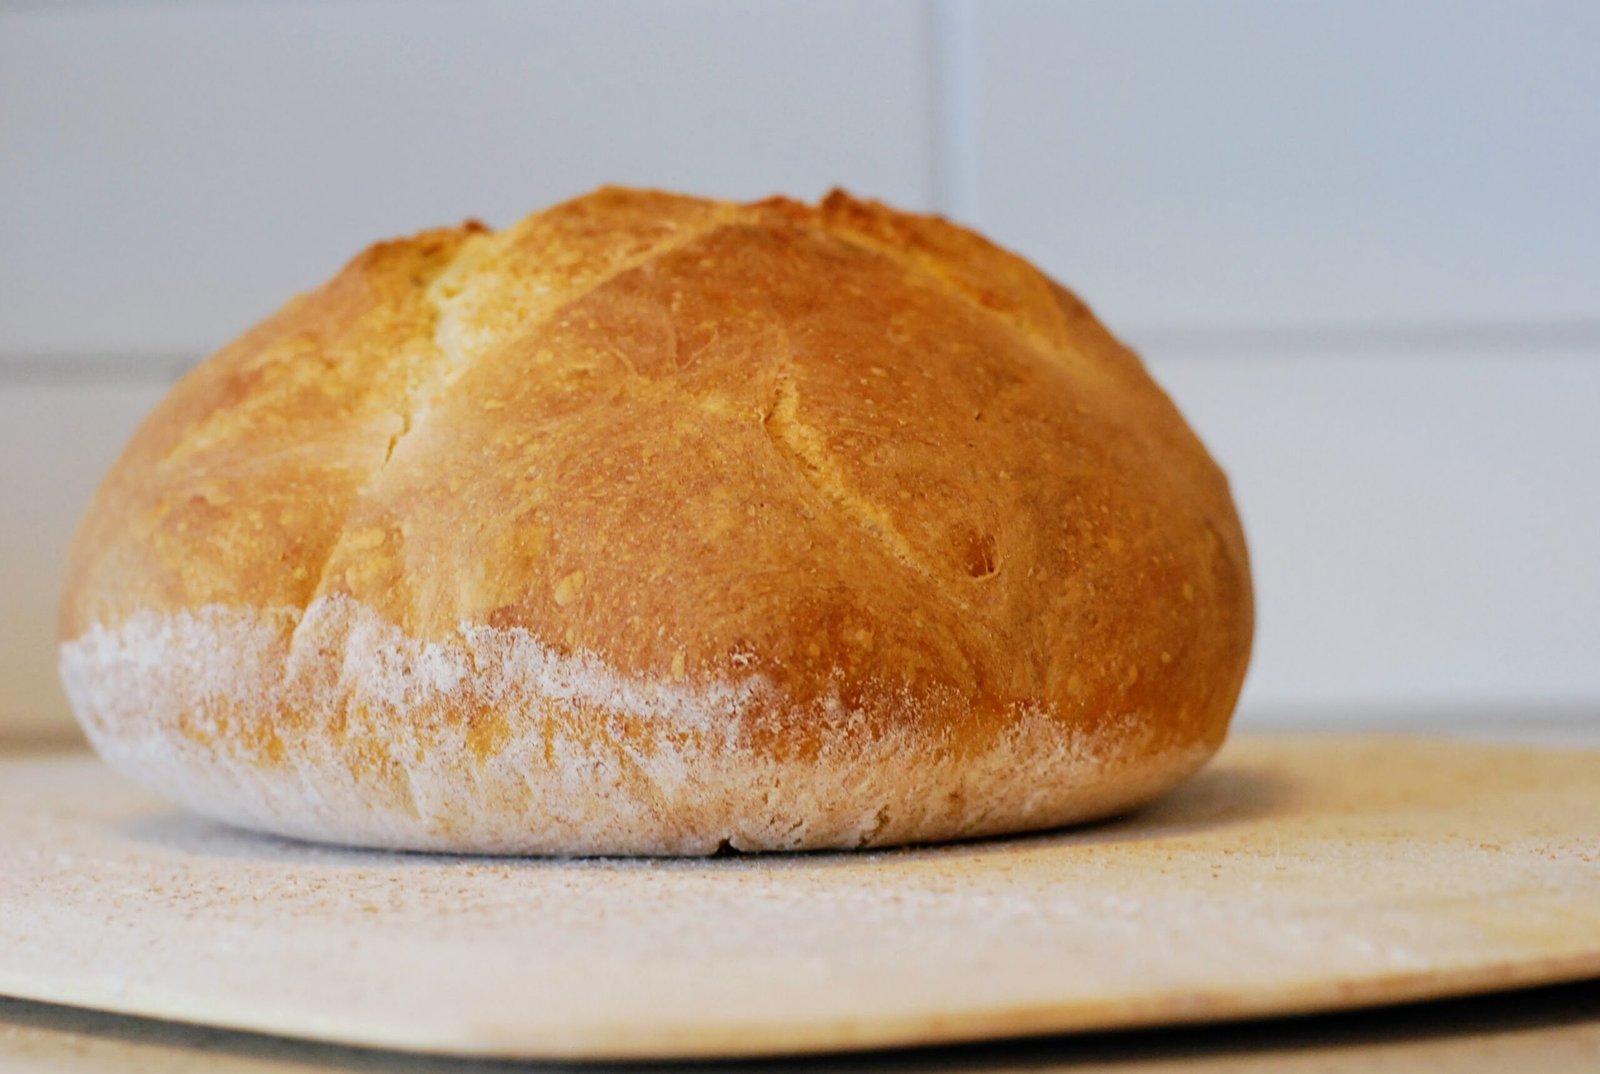
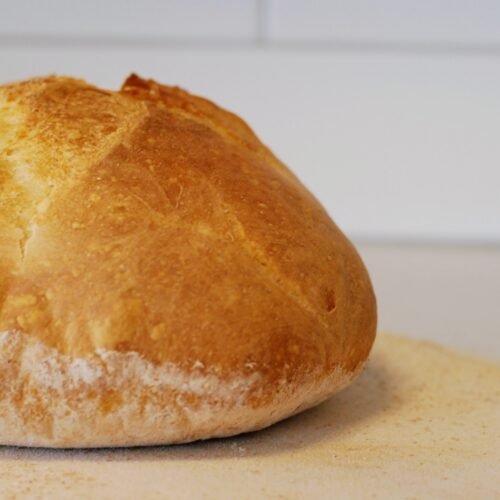
If you love bread, get ready to really love this recipe. There’s nothing quite like pulling a fresh, golden loaf out of your own oven — that warm, toasty smell filling the kitchen, the satisfying crackle as you cut into it, the soft interior practically begging for a smear of butter. This recipe makes that experience possible for anyone, even if you’ve never baked bread before.
Full disclosure: the original inspiration comes from Artisan Bread in Five Minutes a Day: The Discovery That Revolutionizes Home Baking by Jeff Hertzberg and Zoë François. If you’re even thinking about baking bread at home, their book is worth every penny. They’ve perfected a method that’s easy, approachable, and flexible enough to become part of your weekly routine. I’ve adapted the instructions here to make them as clear as possible and added an alternate method for those who prefer using a Dutch oven instead of a pizza stone.
Why a Dutch oven or a pizza stone? It’s all about steam. Steam is the secret to that bakery-style crust — crisp and shattery on the outside, while the inside stays moist and tender. With a pizza stone, you create steam by adding water to a hot pan in the oven. With a Dutch oven, you trap steam inside the pot itself. Either way, you’ll get that magical crusty texture.
As Colette from Ratatouille might say, this bread is “a symphony of crackling” when you press on it. I love pairing it with homemade soup or slicing it for hearty sandwiches. The dough is versatile, so once you master the basic loaf, you can shape it into baguettes or rolls. In future recipes, I’ll share more variations — but today, let’s stick to the classic boule, or round loaf.
Why You’ll Love This Recipe
- Beginner-friendly: Minimal ingredients, no kneading, and easy steps.
- Bakery-quality results: Crispy crust, tender inside.
- Versatile: Works with both a pizza stone and a Dutch oven.
- Impressive but effortless: Looks like it came from an artisan bakery, but requires little hands-on time.
Tips for Success
- Don’t overwork the dough: This is a no-knead recipe, so minimal handling is best.
- Watch the water temperature: Too hot can kill the yeast, too cool will slow the rise. Aim for about 105°F.
- Storage: Keep leftover bread in a paper bag or loosely wrapped in a tea towel to preserve the crust. For longer storage, slice and freeze it.
- Flavor variations: Mix in rosemary, garlic, shredded cheese, or even olives for a twist.
Ingredients
For the Dough
- 1½ cups warm water (about 105°F)
- 2¼ teaspoons active dry yeast
- 2¼ teaspoons fine salt (if using sea salt, make sure it’s finely ground)
- 3¼ cups all-purpose flour
For Baking
- Extra flour, cornmeal, or whole wheat flour (for dusting the peel)
- 1 cup water (for steam, if using pizza stone method)
Step-by-Step Instructions
1. Make the Dough
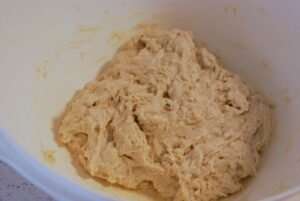
In a very large mixing bowl, stir together the warm water, yeast, salt, and the flour all at once. Stir until there are no dry patches of flour — no kneading required. If the dough is hard to stir, wet your hands and press the dough together until the flour is fully incorporated. The dough should be sticky and loose; perfection isn’t necessary at this stage.
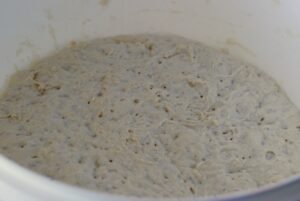
2. First Rise
Cover the bowl with plastic wrap, foil, or a loose-fitting lid (not airtight). Let the dough rise at room temperature for at least 2 hours, or until it has expanded and flattened on top. You can let it go up to 5 hours if needed, or pop it into the fridge for up to a week (which will improve the bread’s flavor and make it a bit more sourdough-y). Just make sure to bring your dough back up to room temperature by taking it out for an hour before you want to use it, and then proceed to step 3 like normal.
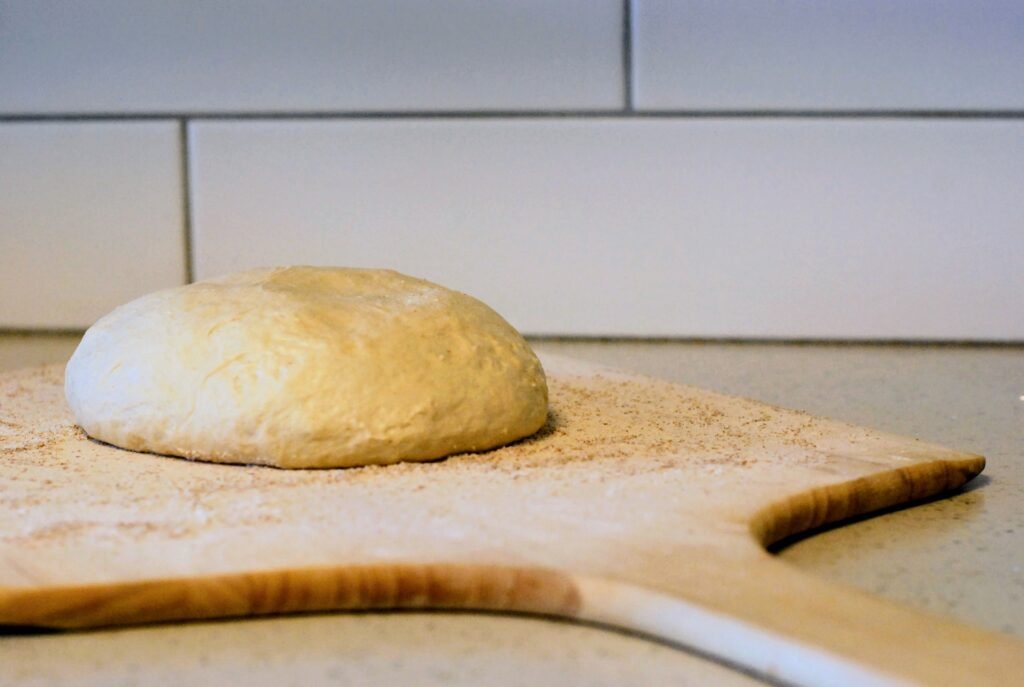
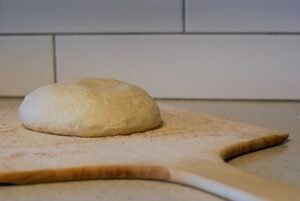
3. Shape and Second Rise
Generously dust a pizza peel (or a cutting board if you don’t have one) with flour, cornmeal, or whole wheat flour — cornmeal and whole wheat are coarser, which makes sticking less likely. If you are using a Dutch oven, just grab some parchment paper and put your shaped dough on there when you’re done.
Sprinkle flour over the top of the dough. With floured hands, gently loosen it from the sides and bottom of the bowl. Add more flour to your hands if needed to keep the dough from sticking.
Instead of punching the dough down, use a “stretch and tuck” motion: pull a section from the top down to the bottom, rotate the dough a quarter turn, and repeat 4–8 times until you have a smooth ball. Place it seam side (or bumpy side) down on the prepared peel (or parchment paper), so that the smooth part is on top.
Let the dough rest for 20 minutes.
If Using a Pizza Stone:
After the 20-minute rest, place your pizza stone on the middle oven rack and a broiler pan (or any sturdy oven-safe pan) on a lower rack. Preheat the oven to 425°F. Allow another 20 minutes or so for the oven to fully heat — whichever is longer, the rest time or preheat time. Keep 1 cup of water nearby.
If Using a Dutch Oven:
Place the empty Dutch oven (with lid) in the oven and preheat to 425°F during the dough’s second rest.
4. Bake
Using a serrated knife, cut an “X” about ¼ inch deep into the top of the loaf. Then follow your preferred method of baking.
Pizza Stone Method:
Slide the loaf from the peel onto the pizza stone in one quick motion. Immediately pour the cup of water into the broiler pan and close the oven door to trap the steam. Bake for about 30 minutes, or until the crust is deep golden brown and sounds hollow when tapped.
Dutch Oven Method:
Carefully remove the hot Dutch oven from the oven, remove the lid, and place the dough inside using the corners of the parchment paper to lower it in (the parchment paper will be baking with the dough here). Cover with the lid and bake for 30 minutes.
5. Cool and Enjoy
Transfer the bread to a cooling rack. The temptation to cut into it immediately will be strong, but letting it rest for at least 20–30 minutes allows the crumb (interior) to finish setting. But sometimes hot bread is worth a crappy crumb. Once cooled enough to handle, slice, slather with butter, and enjoy.
Final Thoughts
Once you’ve made this bread a couple of times, it becomes second nature. You’ll find yourself mixing a batch of dough on a Sunday night and baking fresh loaves all week. Say goodbye to store-bought bread — homemade just tastes better.
Smell that? That’s the smell of baking victory.
Easy Artisan Bread
Equipment
- 1 pizza stone
- 1 broiler pan or a rusty old pan you can put 1 cup of water in
- 1 Pizza Peel
- *1 5 quart dutch oven if you do not have any of the above items
Ingredients
For the Dough
- 1 ½ cups warm water * about 105 ℉
- 2 ¼ teaspoons active dry yeast
- 2 ¼ teaspoons salt *if you use seasalt, be sure it is fine (small grains)
- 3 ¼ cups all-purpose flour
For Baking
- extra flour, cornmeal, or whole-grain flour for dusting the peel
- 1 cup water
Instructions
Make the Dough
- In a very large bowl, pour the water, yeast and salt into a bowl and stir. Then add the flour all at once and stir until there are no dry clumps of flour. DO NOT KNEAD, but if you are having trouble stirring get your hands very wet and press the dough together to get rid of any remaining dry spots. The dough does not need to be smooth or well mixed, as long as there are no dry spots you are good!
Leave it to Rise
- Cover the bowl with saran wrap, tin foil, or a well-fitting lid that is not airtight. Leave to rise for at least 2 hours, or until the dough has risen so much that it is flat in the bowl. You can leave it for up to 5 hours unrefrigerated.
Shape & Second Rise
- Sprinkle flour, whole wheat flour, or cornmeal liberally on a pizza peel. I would reccommend using whole wheat flour or cornmeal, as they are more course and make your dough less likely to stick to the peel.
- Dust the top of the dough with some flour and then use floured hands to separate the dough from the sides and bottom of the bowl. Feel free to add more flour as needed to make the dough more manageable. DO NOT PUNCH IT DOWN. Once you have freed the dough from the bowl, use your hands to pull the dough from the top of the ball around to the bottom four to eight times, rotating a quarter turn each time, until a smooth and cohesive ball is formed. The process should be quick, so flour your hands as needed. When done, place the ball seam side (messy side) down on the pizza peel.
- Let the dough rest for 20 minutes. After 20 minutes, put your pizza stone on the middle rack of your oven, your broiler (or old) pan on a rack below the pizza stone and preheat your oven to 425 ℉. Wait another 20 minutes or until the oven is preheated, whichever happens later. During this time, prepare 1 cup of water and leave it near the oven.
Bake
- Use a serrated knife to cut an x into the top of the dough about ¼ inch deep. Then, using one quick motion, jerk the dough off the peel and onto the pizza stone. Quickly, pour the water into your broiler (or old) pan and close the oven. Bake for about 30 minutes until a deep golden.
- Once the bread is finished, place it on a cooling rack. Once you can safely eat it, enjoy!
Notes
- If you want to leave the dough to rest longer than 5 hours, you should refrigerate it. It can stay good in the fridge for up to a week, and will take on a more sourdough flavor over time. Be sure to take it out an hour before you want to use it so that the yeast can wake up and come back to room temperature. Then, continue with the shaping and baking steps.
- To be sure that it is cooked through, you can insert a thermometer, which should read at least 190 ℉. If it is less, cook the bread 5-10 minutes longer.
- If you do not have a pizza peel, you can always bake this in a Dutch oven! This size loaf fits in a 5-quart Dutch oven. You do not need to add steam, as the lid on the Dutch oven keeps the moisture in, so forget the broiler pan and extra cup of water. You also do not need the extra flour. Simply place the shaped dough on a piece of parchment paper for the second rise. Put the Dutch oven in the oven during preheating, and once the oven is ready, pull out the Dutch oven, lift the dough into it by grabbing the corners of the parchment paper, put the lid on, and bake as normal.


Leave a Reply