

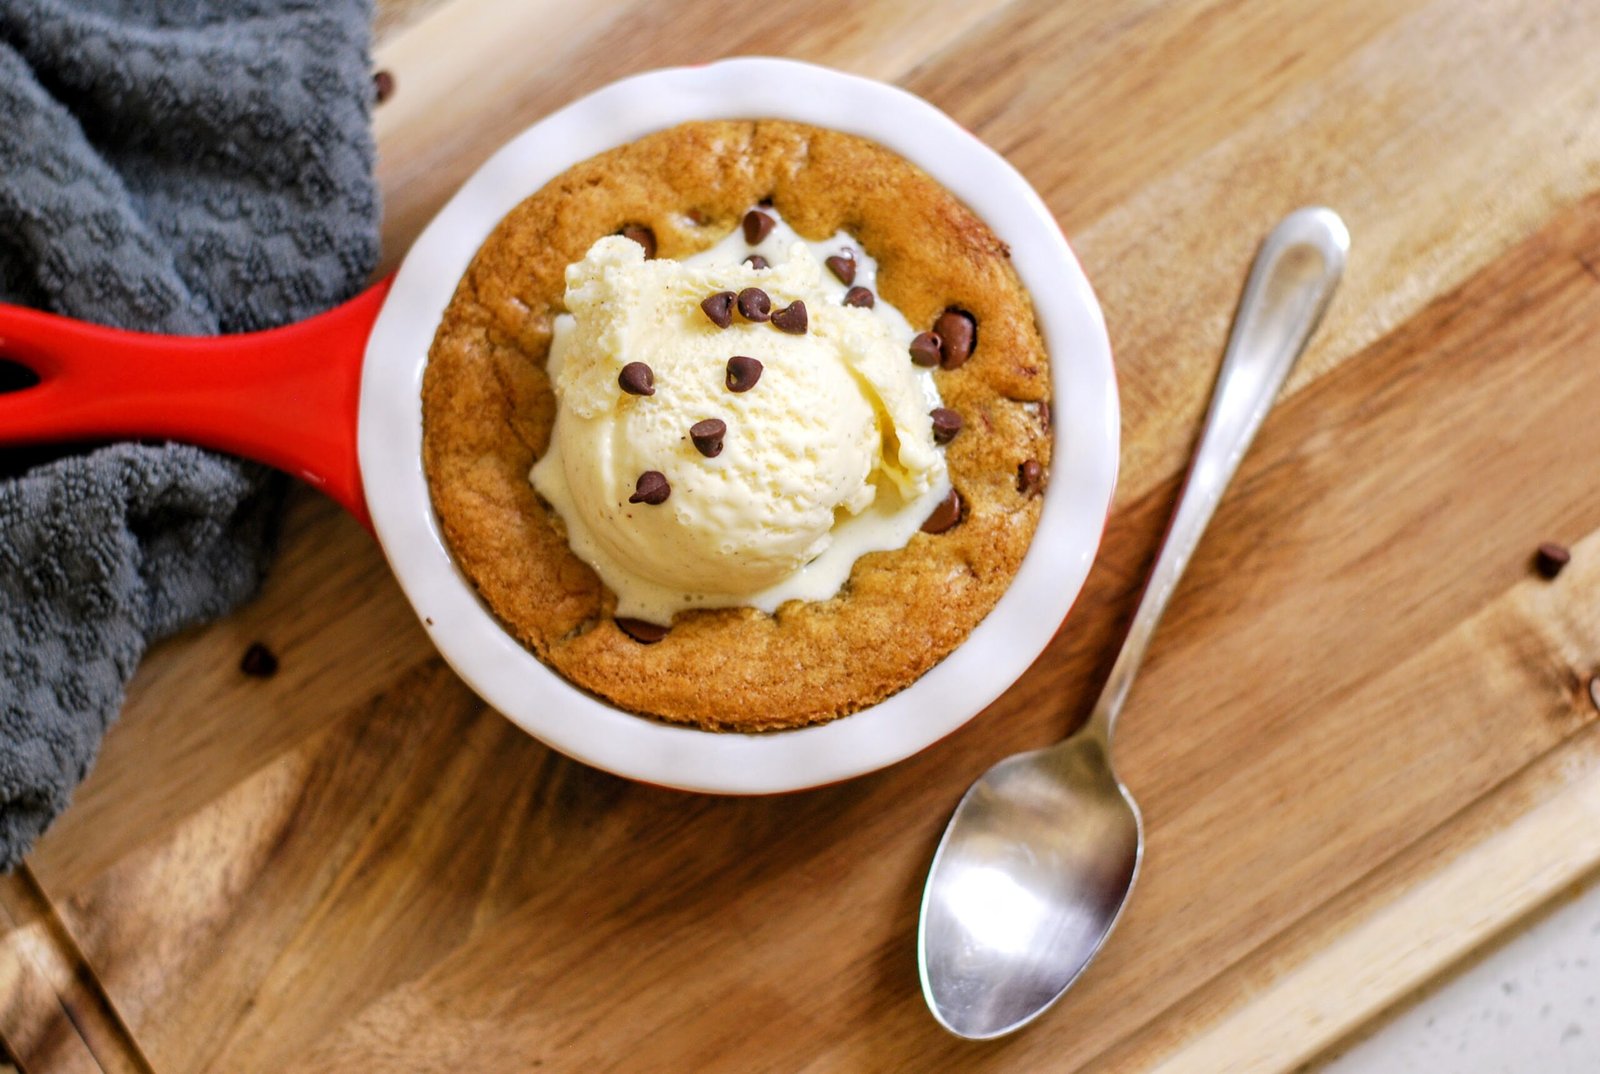
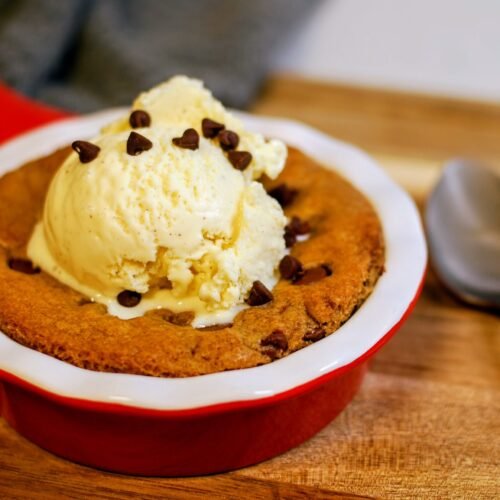
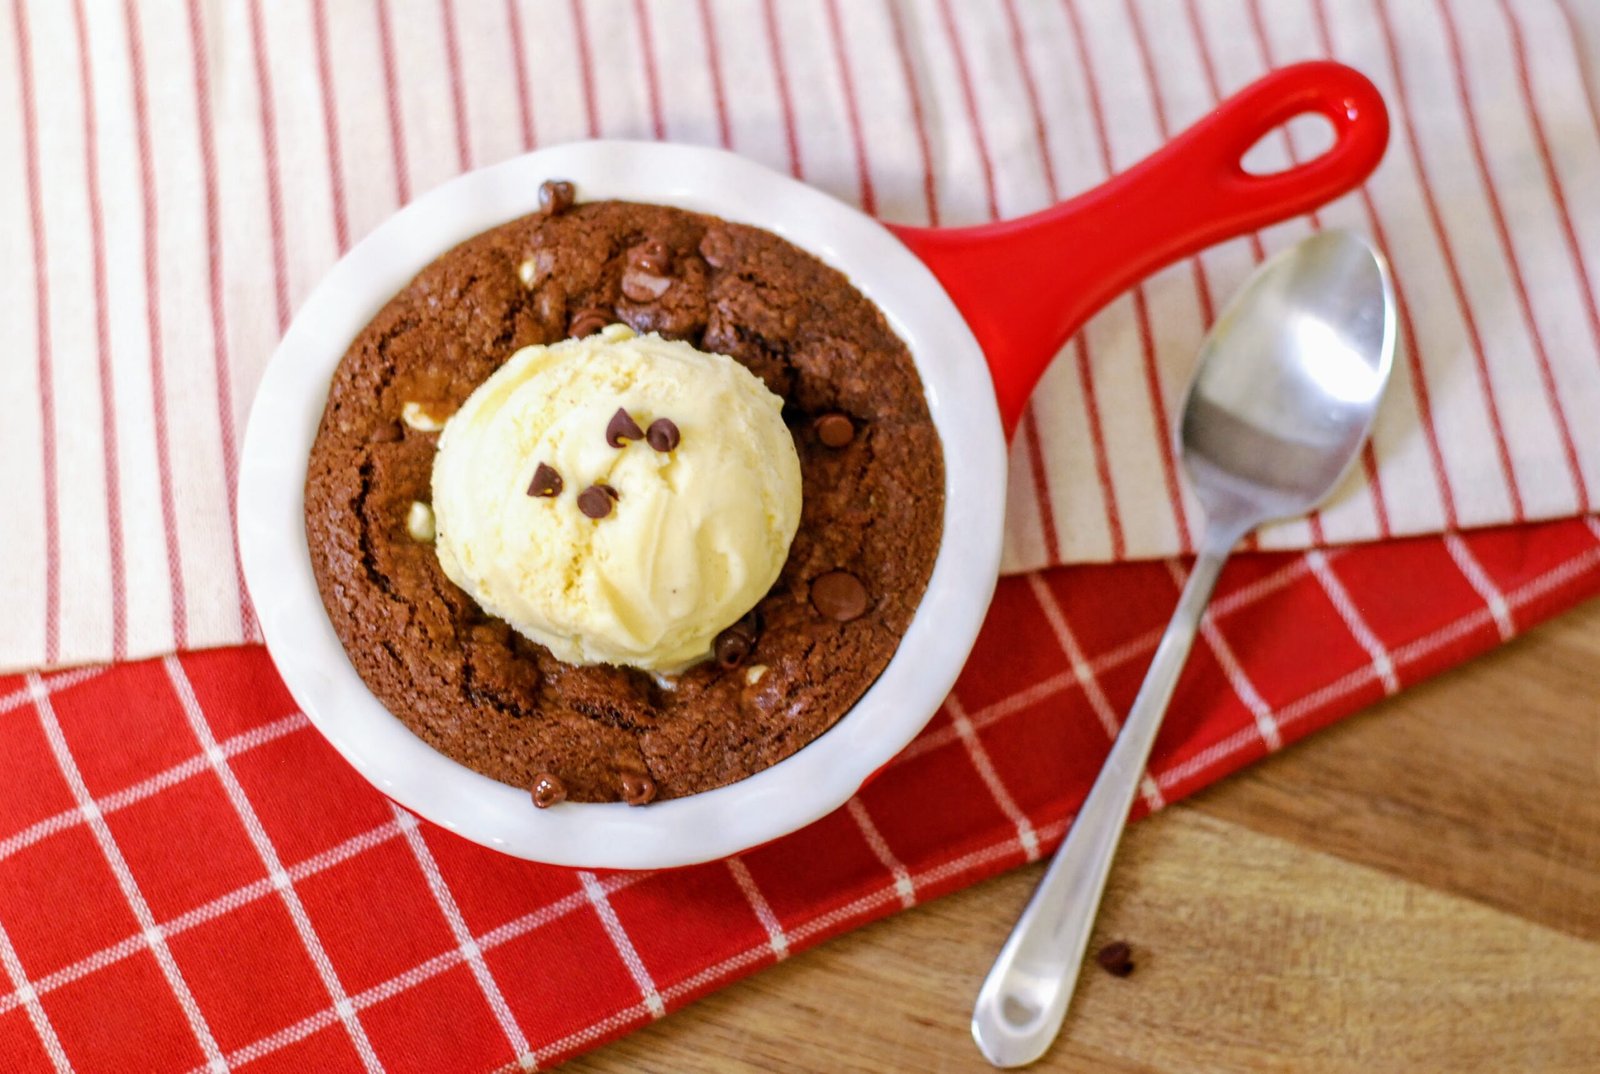
Let’s talk about pizookies—those warm, gooey, melty desserts that are technically cookies, but served hot in a dish with a scoop of ice cream melting into all that soft cookie goodness. If you’ve ever had one at a restaurant like BJ’s or another local favorite, you know they are to die for. But here’s the problem: they’re also overpriced. And I don’t mean a little expensive—I mean “$8 for a cookie and a scoop of ice cream” expensive.
Honestly, it feels kind of unfair. Pizookies are so tantalizingly good that once you have one, you’ll find yourself craving them for the rest of your life. The warm cookie dough, the crisp top layer, and the way the vanilla ice cream slowly melts down into each bite… it’s just cruel that something so crave-worthy costs so much.
That’s why I decided to find a way to make them at home—and not just any version. I wanted a single-serve (or almost single-serve) recipe that I could whip up quickly when a craving hit, without making an entire batch of cookies. I also didn’t want to deal with scooping or complex portioning. Basically, I wanted instant cookie joy, without the effort. Classic me. I even freeze the extra dough to make future pizookie nights even faster.
After some trial, error, and a very messy kitchen, I found a solution that has honestly changed my dessert life. It’s now a go-to treat in my kitchen—something I can whip up in just a few minutes on a bad day, when I’m craving chocolate, or when I want dessert but do not want work for 2 hours to bake a batch of cookie dough (or worse, take the time to freeze a whole batch of cookie dough). Thankfully, this recipe only takes 30 minutes from start to finish!
So what’s the secret?
Ramekins + Plastic Bags + Adjusted Bake Times
That’s it.
Okay, not quite, but those three things make this whole operation possible:
Ramekins: If you don’t own a set of ramekins, I can’t recommend them enough. These little guys are total kitchen MVPs. You can use them for individual desserts like soufflés, lava cakes, molten brownies—and of course, pizookies. They’re also great for serving dips, sauces, or holding ingredients while cooking. But for this recipe, they’re essential. They give your cookie dough a deep-dish effect that mimics the restaurant-style pizookie without needing a cast-iron skillet or anything fancy.
Adjusted Bake Times: Baking a cookie in a ramekin is different than baking it on a tray. You want it soft in the middle, crisp on the edges, and gooey enough that it still feels like you’re eating cookie dough (but, you know, warm, safely baked cookie dough). The trick is to slightly underbake the dough. I usually pop mine in the oven for about 19 minutes at 350°F and watch for the top to just barely set and start to turn golden brown. Trust your eyes and your nose more than your timer. And let it be known that different sized ramekins will call for adjusted bake times, with smaller, shallower ones baking faster and bigger, taller ones baking slower.
Plastic Bags for Portioning: This one’s a game-changer. I’ll make a batch of dough (which makes 4 pizookies for my 3-inch ramekins), portion it into 4 parts, use one of them for my pizookie and freeze the rest in a freezer safe bag or two for later. On nights when I don’t feel like measuring or mixing, I just pull the dough out, pop it in the microwave for about 30 seconds on low power to defrost it and then bake it directly like normal.
A Recipe Worth Repeating
The original inspiration for this recipe came from a cookie base I found on spendwithpennies.com, which I’ve since modified to better suit my ramekin baking needs. You can get it into the oven faster than it takes to order takeout. The dough is buttery, chocolatey, and soft without being raw. And paired with a scoop of ice cream? Chef’s kiss.
The best part? The portions are flexible. If I want to make just one pizookie for myself (yes, I do that regularly), I use a quarter of the dough and save the rest. When I have an especially bad day, I grab a bigger ramekin and only freeze about half of the dough. If friends are coming over, I bake four at once. Everyone gets their own dessert, piping hot and melty in its own little ramekin. It’s perfect for dinner parties or just a “treat yourself” night in.
Equipment and Bake Times
Pan Size
For this bake, I have found that larger pans give you a better feel for the flavor, so I would recommend baking in at least a 5-inch pan.
Pan Depth
It’s Important to remember that you should have between ¼ to ½ an inch of space between the top of your pan/ramekin/skillet and the cookie. If you do not, it will definitely spill out while baking! To help you do that, please, PLEASE make sure your pan is at least 1 inch deep! If you’re too lazy to measure, that’s about the distance from the tip of your thumb to its first joint. With a pan at least that depth, you will be able to make a delicious pizookie that is not too thin while still having room to expand during baking. Note that thicker, larger cookies in larger pans will need longer bake times (closer to 22 minutes) and smaller, thinner cookies will need shorter ones (closer to 18 minutes).
Helpful Tips
- Customize the Mix-ins: Want white chocolate chips, crushed Oreos, or chopped peanut butter cups? Go wild. This dough base is a blank canvas for your favorite cookie flavors.
- Ice Cream Is Not Optional: Okay, technically it is, but why would you skip it? Vanilla is the classic, but salted caramel, cookies and cream, or peanut butter swirl all pair beautifully with the warm, gooey cookie. If you really don’t want the two mixing, just have it as a side!
- No Ramekins? No Problem: You can also use a muffin tin in a pinch. Just grease it well and reduce the baking time slightly. You’ll end up with adorable mini pizookies.
Final Thoughts
Honestly, once you’ve had a homemade pizookie, you’ll never go back to overpriced restaurant versions again. They’re comforting, customizable, and ready in minutes. The hardest part is waiting for it to cool enough to eat, which I don’t do.
So next time your day needs a little sweet rescue, grab a ramekin and treat yourself. You deserve it.
Mini Pizookies
Equipment
- 1-4 ramekins
Ingredients
- ⅓ cup butter
- ⅓ cup brown sugar
- ¼ cup sugar
- 1 egg yolk
- ½ cup + 2 Tbs flour
- 1 tsp vanilla
- ¼ tsp baking soda
- ½ cup chocolate chips
Instructions
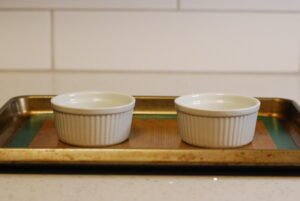
- Preheat oven to 350 ℉ and lightly grease 1-4 ramekins (depending on how many pizookies you want today). Set the ramekins on a baking sheet.
- In a mug or small microwave safe bowl, melt the butter.
- In a medium bowl, combine the sugars with the melted butter.
- Add in the yolk, stirring quickly to incorporate. You will see the batter turn lighter in color when it has been stirred enough.
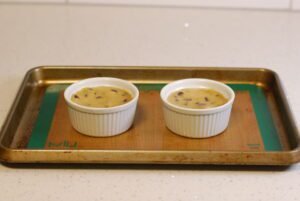
- Add flour, vanilla, and baking soda, stirring until combined. Then stir in the chocolate chips and divide the dough into four equal-ish sections. Spread the dough in the ramekins until about ¼ inch away from the rim. Top with a few more chocolate chips if you wish.
- Bake for 18-22 mins or until edges are crispy and center is just set. If you're unsure when to pull it out, try to underbake rather than overbake.
- Top with a scoop of ice cream and serve.


Leave a Reply